Tutorial: New Project
This tutorial will guide you through creating a Datamint project, adding images, setting up an annotation workflow, and adding collaborators. It is intended for principal investigators.
A Datamint project is for developing a model or set of models that perform a single medical task. For more information, see What is a Project?.
For this tutorial, we will create a hypothetical project which interprets ultrasounds of elbows. We will not actually be training a model, but we will do everything neccecary to begin training one.
Creating the Project
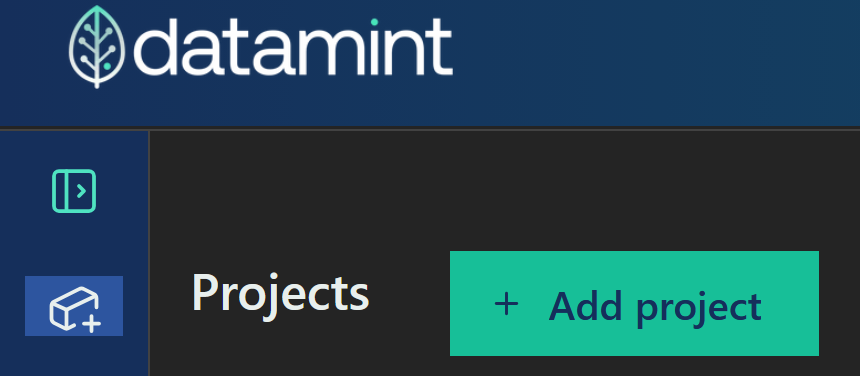
To start, go to app.datamint.io and sign in. Click the Add Project button.
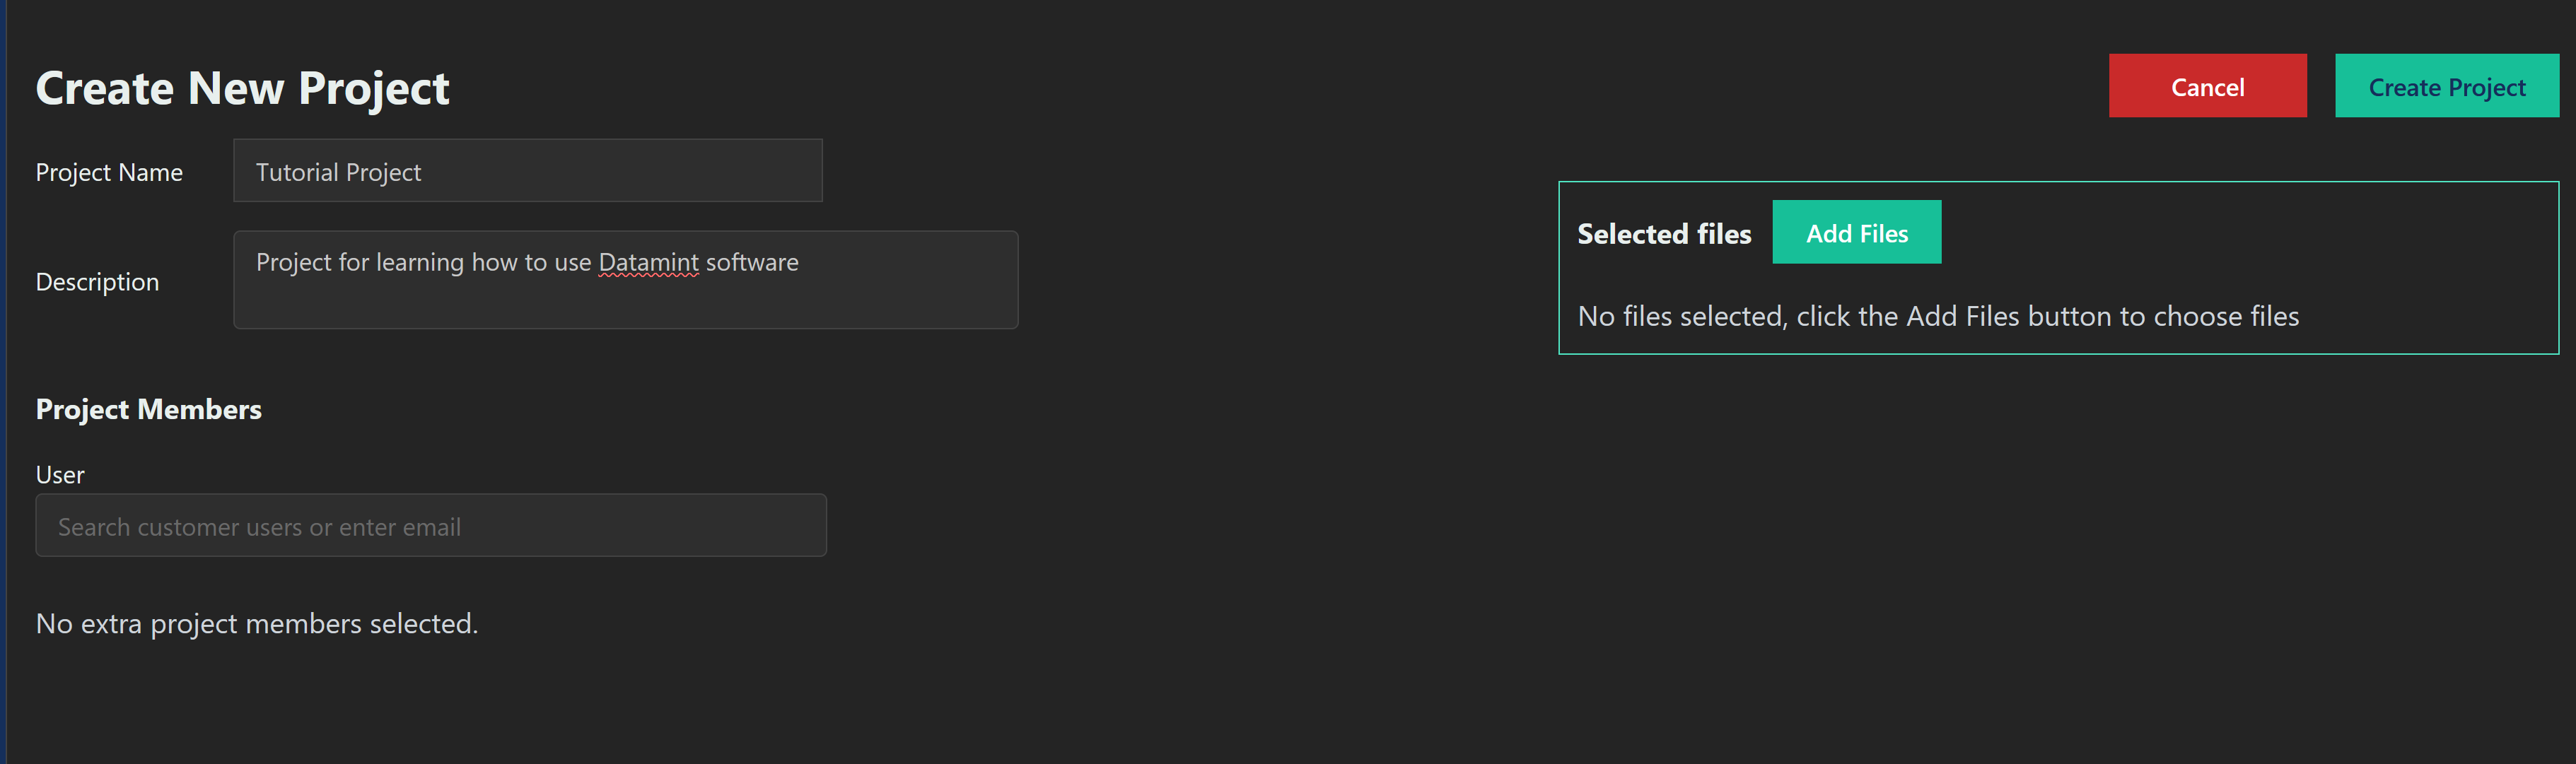
Give the project a name and description, and click Create Project. We aren’t going to be adding files here, since we don’t have any uploaded yet.
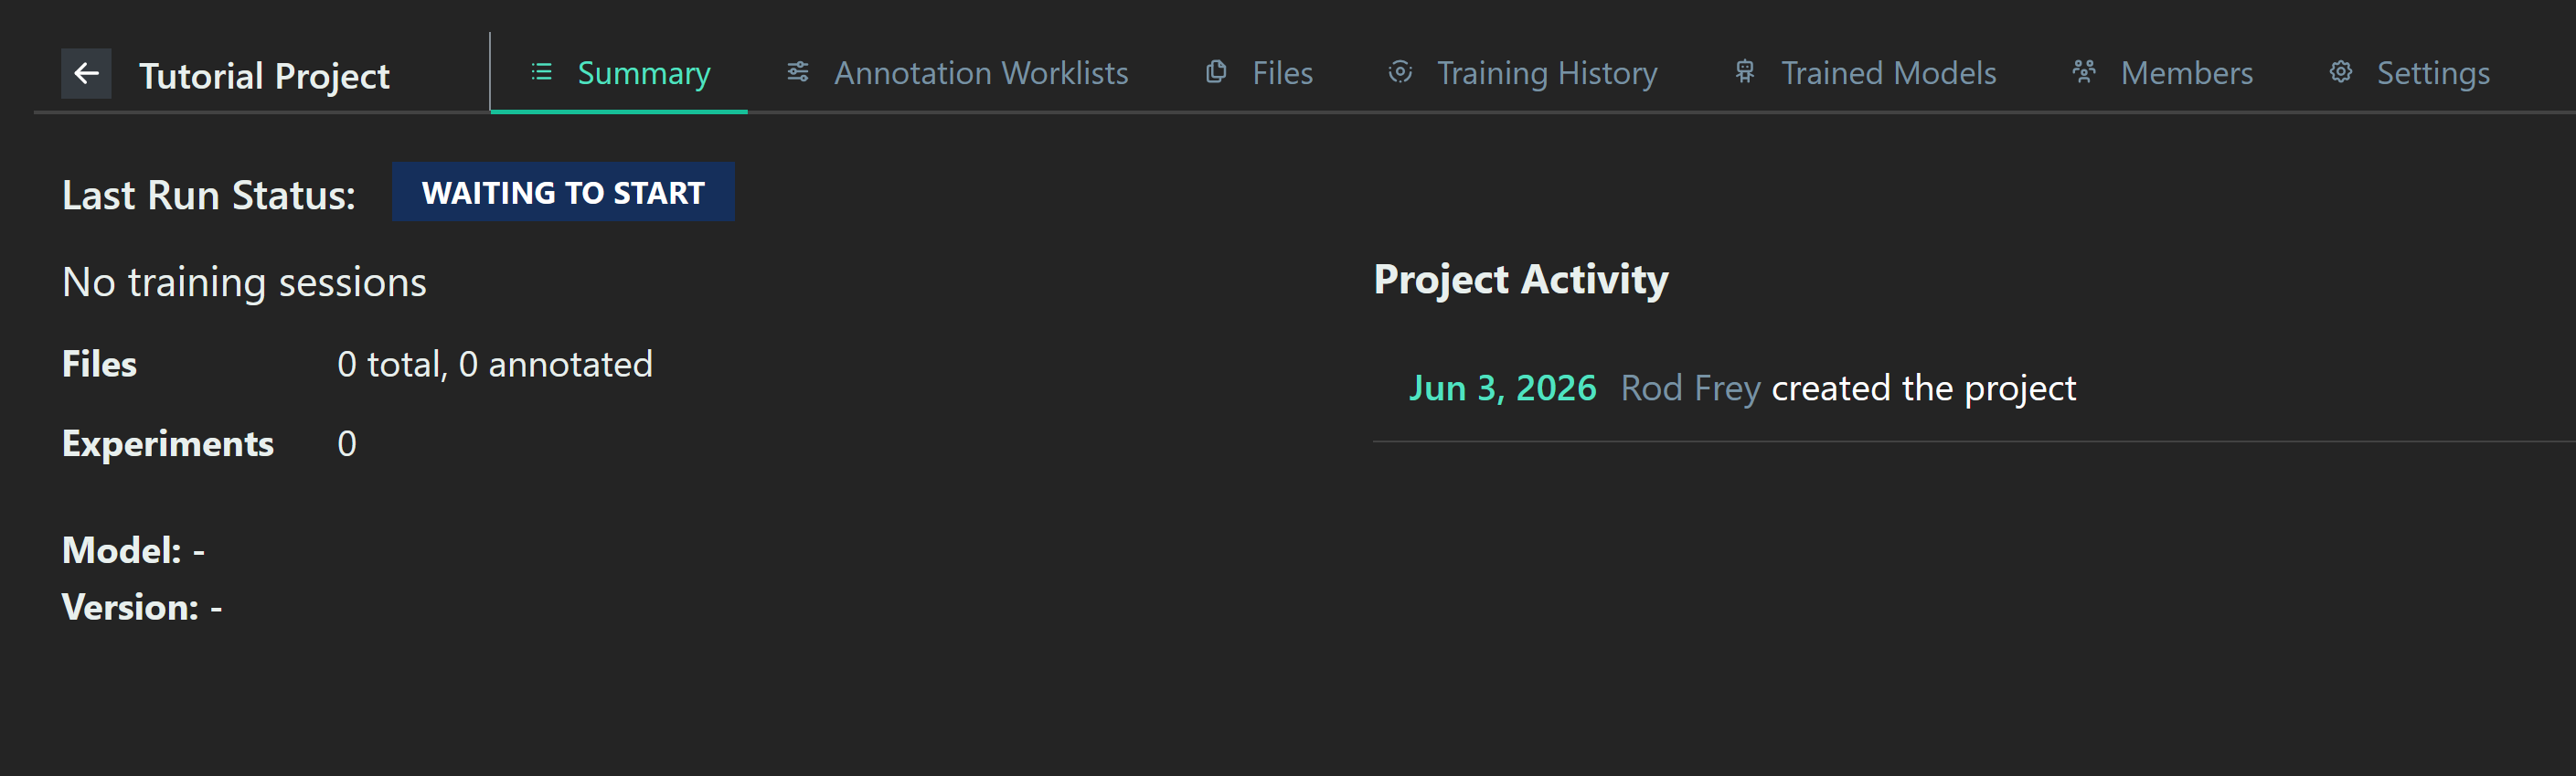
Open the project. You should see a screen like this:
Adding Images
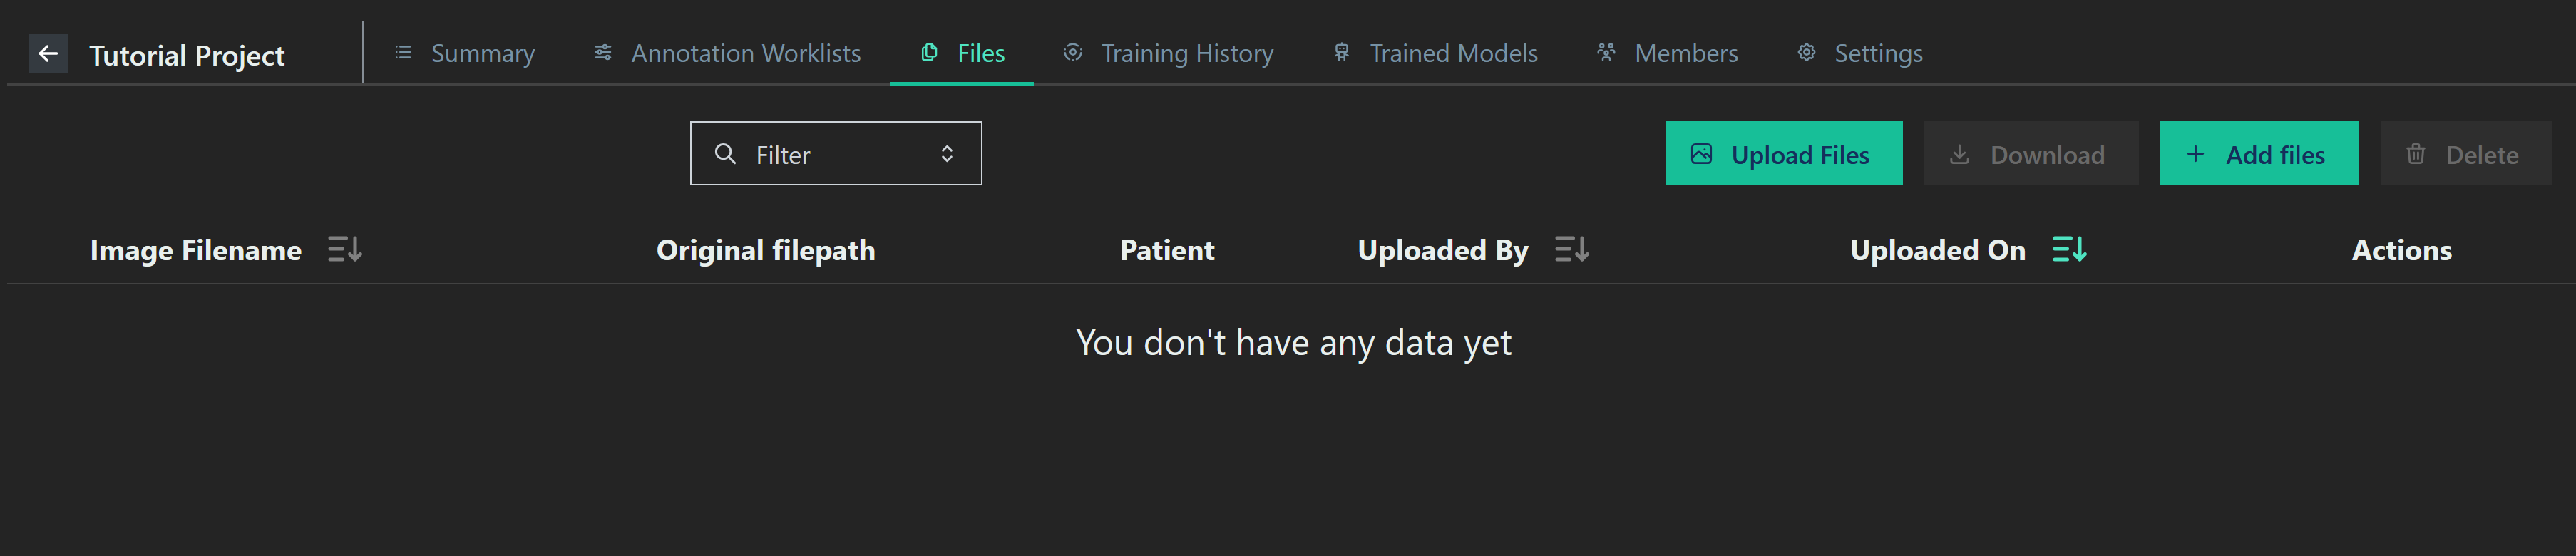
We will now upload some images for annotation. Start by going to the Files tab.
We now need to upload some data. Let’s use a collection of open-source elbow MRIs. You can download it from the Datamint website here. [link]
Click the Upload Files button. You should see this menu pop up.
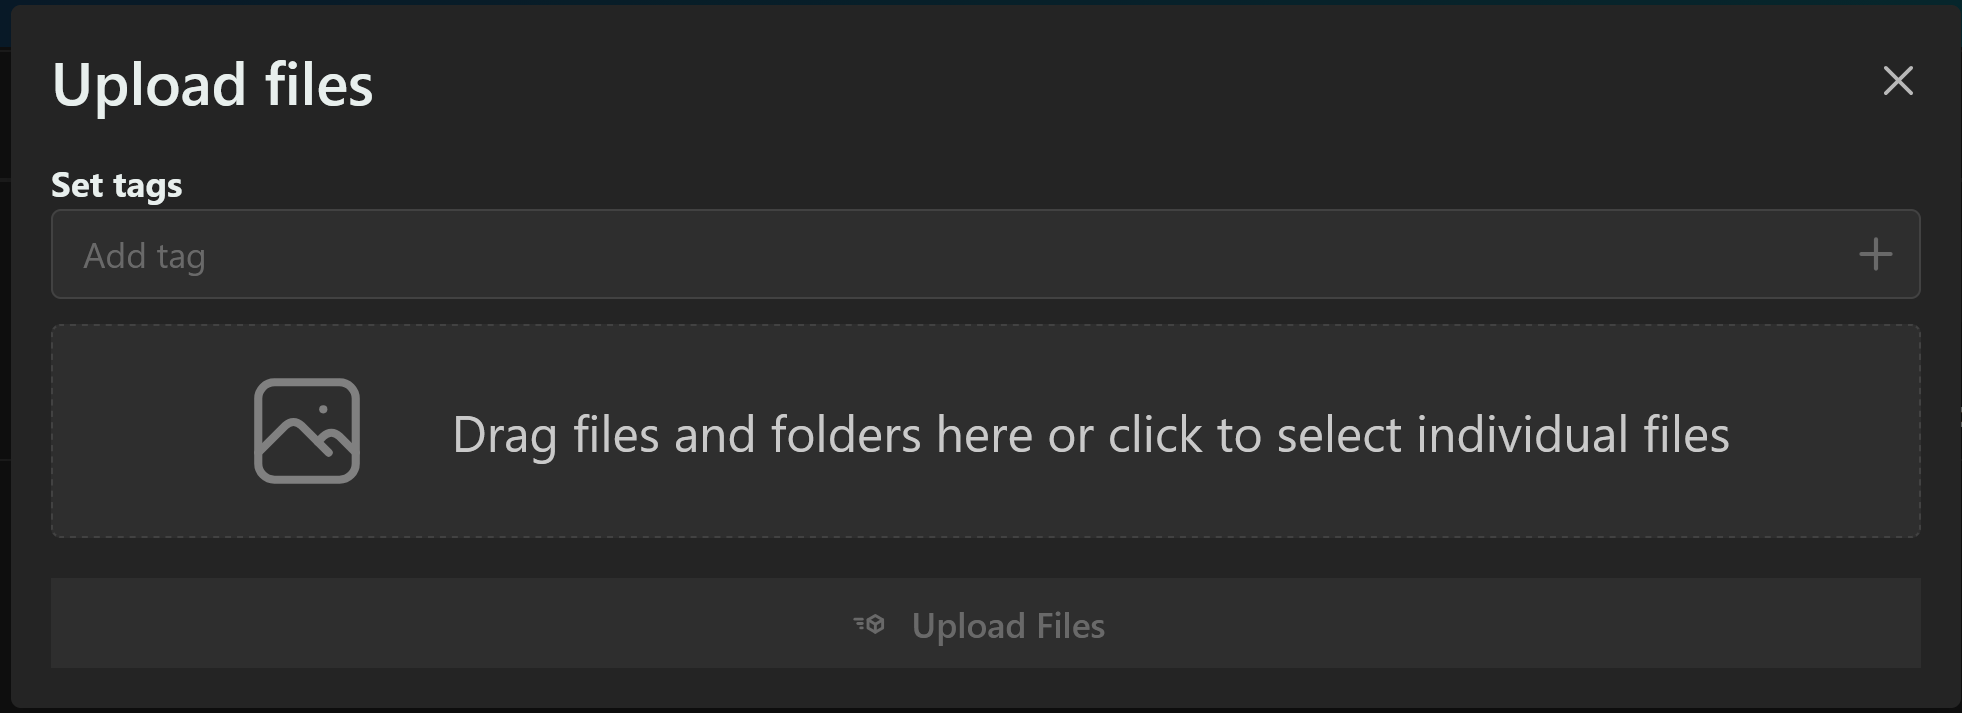
We can also set tags that will be applied to the images. Let’s give all these images the “elbow” tag: to do this, click the “Add tag” box, type “elbow”, and press enter. You can make a tag with any text you want.
Creating an Annotation Workflow
Now, let’s set these images up for annotation. [Setup stuff]
We can now see different sorts of annotations which can be applied to the image. For this tutorial, we’ll be using all of them, but your AI model most likely only requires some of these to be used.
Creating Segmentations
We will create a segmentation for the posterior fat pad.

Click “Add Segmentation”, and a new segment called Segmentation 1 will be created. Double-click on its name to edit it.

Creating Shapes
Shapes (such as lines, rectanges, or circles) indicate specific coordinates to the model. Each shape you create can only be used once per frame.
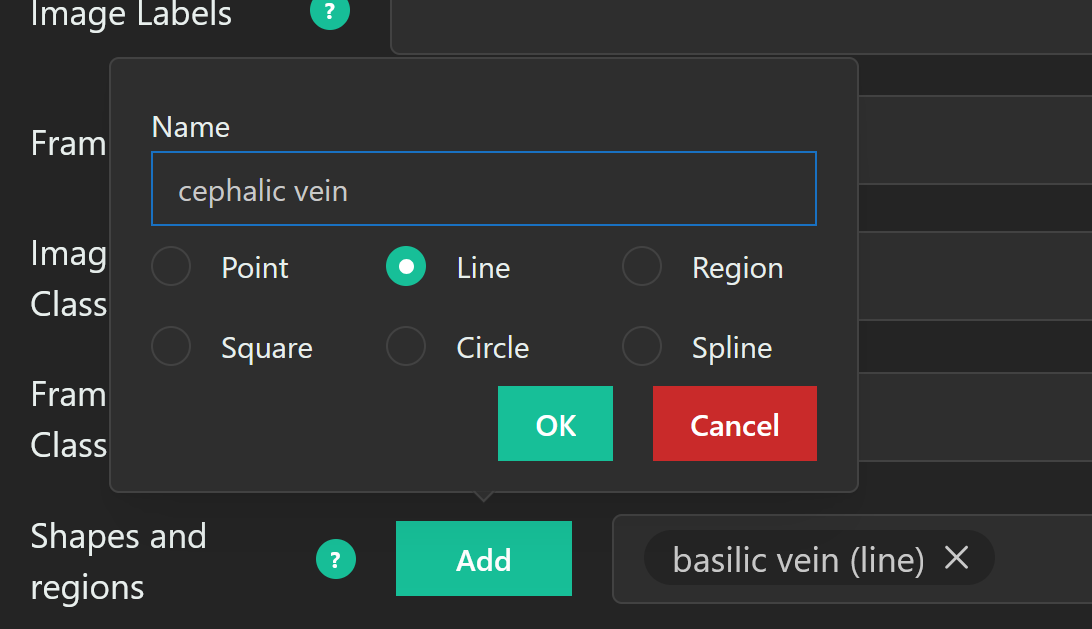
We will mark the basilic and cephalic veins with lines. Since there are two veins to mark, we need to create two lines. Press the Add button in the Shapes and Regions row, select Line, type “basilic vein”, and press OK. Repeat for the cephalic vein.
Adding Collaborators
Stub
Making Annotations
Stub
Reviewing Annotations
Stub